Blender 3D:零基础到专业级-单元2:基本建模和着色
This tutorial shows you how to use displacement mapping to make a simple environment.
::如何使用移位映射来创建简单的环境.
-
Make a grid. (Add/Mesh/Grid) 32x32 will do just fine. Be sure to create a Grid instead of a Plane, or you'll end up with just a flat plane! This is because a Plane only has four vertices to manipulate - one for each corner - while a Grid has many, many more. A 32x32 Grid, for example, would have over 1000 vertices. The more vertices there are to manipulate, the more effect displacement mapping will have on the finished product.
::创建一个网格. (Add/Mesh/Grid) 32x32将很好. 确保创建一个网格而不是一个平面,否则你最终只会有一个平面! 这是因为一个平面只有四个顶点来操作 - 每个角落一个 - 而一个网格有很多,更多. 一个32x32网格,例如,将有1000个顶点. 越多的顶点有操纵,更大的影响移位映射将在成品. -
Set it smooth. (Editing/Link and Materials/Set Smooth)
::设置一个平滑的. -
Make a new material for it. (Shading/Material/Add New)
::制作一个新的材料. -
Make a new texture for the material. (Shading/Texture/Add New)
::创建一个新的质地. (遮/质地/添加新) -
Go to Shading/Texture Buttons. You can see your newly created texture there now.
::现在可以看到新创建的纹理. -
Change Texture Type to Clouds.
::改变纹理类型为云. -
Change the name of the texture to be more descriptive. For example GroundDisp or something similar.
::改变纹理的名称以更具描述性. 例如GroundDisp或类似的. -
Go back to Shading/Material buttons. You can see our cloud texture applied now, but it's not applied correctly yet. Let's fix this next.
::现在可以看到我们的云纹理被应用,但它还没有被正确应用. 让我们下一步来修复这个. -
Go to Shading/Map To. This defines how the selected texture is mapped on our material. Uncheck Col, check Disp on, and set the Disp slider to a value like 0.200
::选择"影子/图像到"选项. 这将定义所选纹理如何映射到我们的材料上. 取消勾选Col,勾选"Disp on",并将Disp滑块设置为0.200 -
Set camera and a few lights to the scene. (This is already done as part of the default scene in recent versions of Blender, such as 2.49)
::设置摄像头和一些灯光到场景. (这已经在最新版本的Blender中作为默认场景的一部分,例如2.49) -
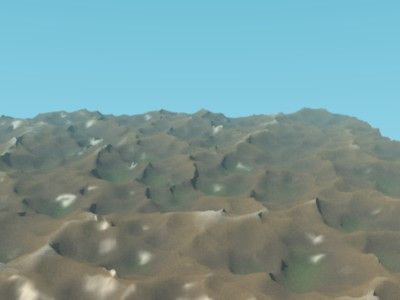
Render.
::让我们来看看.
Noob Note
It looks like from version 2.70 there is no shading as a main tool but rather as a subtool for Material, so in version 2.70 to get the effect described in here you have to check third checkbox in Texture>Influence>Geometry and adjust the slider
::现在,我们可以使用该工具来实现图形的图形化, 图形化是我们在图形化中所做的.
-
- Several individuals, when working through this tutorial, had trouble getting anything more than a flat plane. A few solutions were proposed (most are still visible on the Talk page), and while each worked in its own way, the vast majority of the time the problem stemmed from creating a Plane instead of a Grid. With version 2.79, it was necessary to change Texture | Mapping | Coordinat in the Properties window to Generated, Object, or Global rather than the default "UV" to get anything but a plane. Be sure to follow each step very carefully to ensure you don't miss anything or do a step incorrectly.
You can tweak the environment easily by changing Nor value in the Shading/Map To. This defines how strongly the displacement texture affects the material.
::您可以通过在"影像/图形"中更改"Nor"值来轻松调整环境. 这定义了位移纹理对材料的影响程度.
You could also add subsurfing to the ground area to get smoother results. Also feel free to tweak the texture and try out different alternatives.
::您也可以在地面上加入潜水, 获得更光滑的效果.
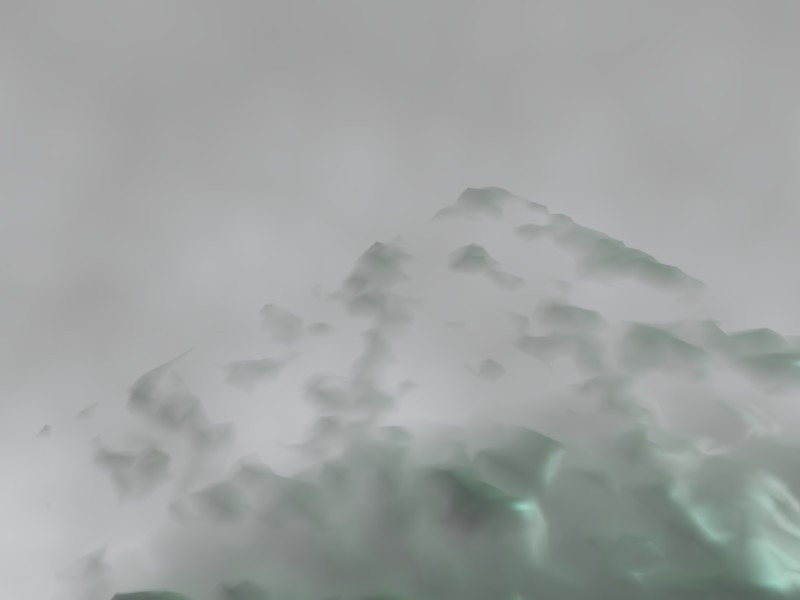
Once your mountain looks good, try adding some Mist.
::一旦你的山看起来很好, 试着添加一些雾.
-
Select the "Mist" button on the "Mist/Stars/Physics" Tab among the World buttons
::在"雾/星星/物理"选项卡中选择"雾"按 -
Add a Cloud Texture to the World and make it blend from white to gray
::添加云纹理世界,使其混合从白色到灰色
The end result is something like this:
::结果就像这样: